Image folder and playback
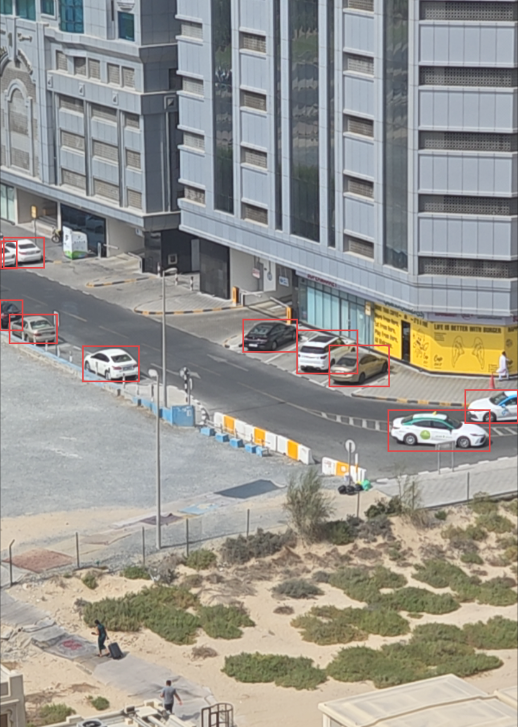
File → Select Image Folder loads common image types. The Assets list sets the current picture. Skip, step, play, and seek from the bar at the bottom.

Screens
Three views from the desktop app. Each preview follows the real VisionForge window — not a cloud dashboard.
UI preview
UI preview — preview only
UI preview
How it works
From the start page to exported label files — a local path on Windows, not a cloud dataset tool.
Create new project, Open existing project, or pick a recent .VFSln from the list.
Set project name, folder, annotation type, and mode. Next writes the .VFSln.
File → Select Image Folder fills Assets. The playback bar steps through the set.
Add classes in Labels. Press W for Box or Cursor, then draw and review boxes.
File → Export writes YOLO or Pascal VOC next to the images, plus a class list.
Features
Built for a labeling desk on Windows. You draw bounding boxes today. Preview-only tools are marked clearly.
File → Select Image Folder loads common image types. The Assets list sets the current picture. Skip, step, play, and seek from the bar at the bottom.
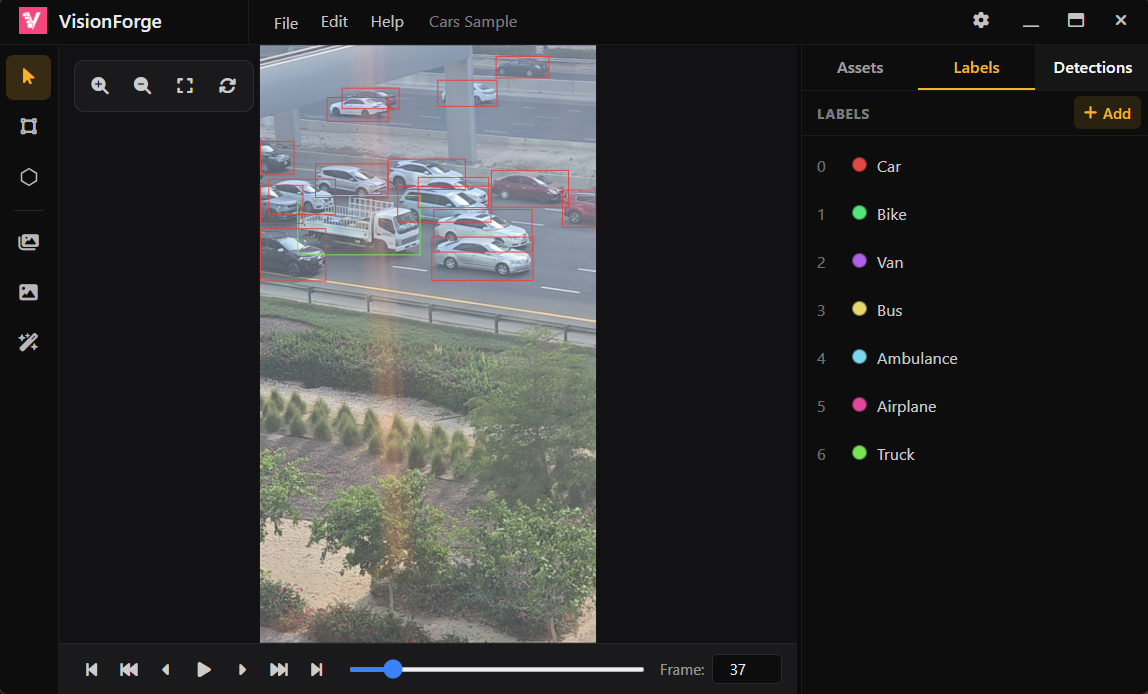
The right panel opens with the project. Import a classes.txt when labels are empty. Add, rename, and delete stay in the project file. Detections lists boxes on the current image.
Press W to switch Cursor and Box. Click and drag to draw with the selected label. Cursor moves and resizes. Delete or Backspace removes a box.
Zoom in, Zoom out, Fit to Screen, and Rotate 90° clockwise. Rotate saves the turned image. Middle-button pan. Ctrl and the scroll wheel zoom.
Export YOLO or Pascal VOC plus a class list. Existing label files import only for images that do not already have boxes. Reviewed work stays.
Pick a model file and a class list from the left tools. Process Image does not run the model yet.
Inspector
The right inspector opens after a project is open. Start on Assets, then manage classes and review boxes on the current image.
UI preview
If the project has no labels yet, VisionForge can import a classes.txt from the project folder or the image folder. Add, rename, and delete save in the .VFSln. Each class gets its own color.
Export
File → Export writes label files your training pipeline already reads. The project type stays as you created it. You choose YOLO or Pascal VOC for that run.
UI preview — sample export
One text file per image, plus a class list. Ready for a YOLO training folder.
One XML file per image, plus a class list. Ready for a VOC-style dataset.
Existing label files load only for images that do not already have boxes. Work you already reviewed is not overwritten. New images still join the list.
Gallery
Tools on the left, the current frame in the center, and Labels on the right. Step through the folder with the playback bar.
Softasium-licensed Windows desktop
VisionForge is a local annotator for teams who already use YOLO and Pascal VOC and want the project in one .VFSln file.
Download VisionForge Release LTS for Windows and run the installer.
Install the desktop app on the machine that holds your images.
Create new project, choose a folder, then Select Image Folder and start drawing boxes.
Disclaimer: Drawing today is bounding boxes only. Process Image is a preview screen and does not run a model. Hexagon appears on the tools rail; it does not draw polygons.
Requires Windows. Windows may show a SmartScreen prompt for unsigned installers. Licensed through Softasium (www.softasium.com).