Flowter: a local Windows visual API workflow for HTTP request chains
6 October 2026
Flowter is a local Windows API client for a multi-step API workflow: HTTP steps on a drag-and-drop canvas, then a run you can inspect.
What Postman Flows and Bruno are used for
Bruno is a local API client for REST API requests. You keep the calls on your machine and test one request at a time. Postman Flows is the visual editor for the next job: a multi-step API workflow made of blocks, connections, and conditional logic, with a way to inspect each step.
Flowter is the local Windows app for that visual job. It is an offline API client. There is no cloud account. You design the API request chain on your PC, run it, and read what each HTTP request sent and received.
A low-code API workflow on a drag-and-drop canvas
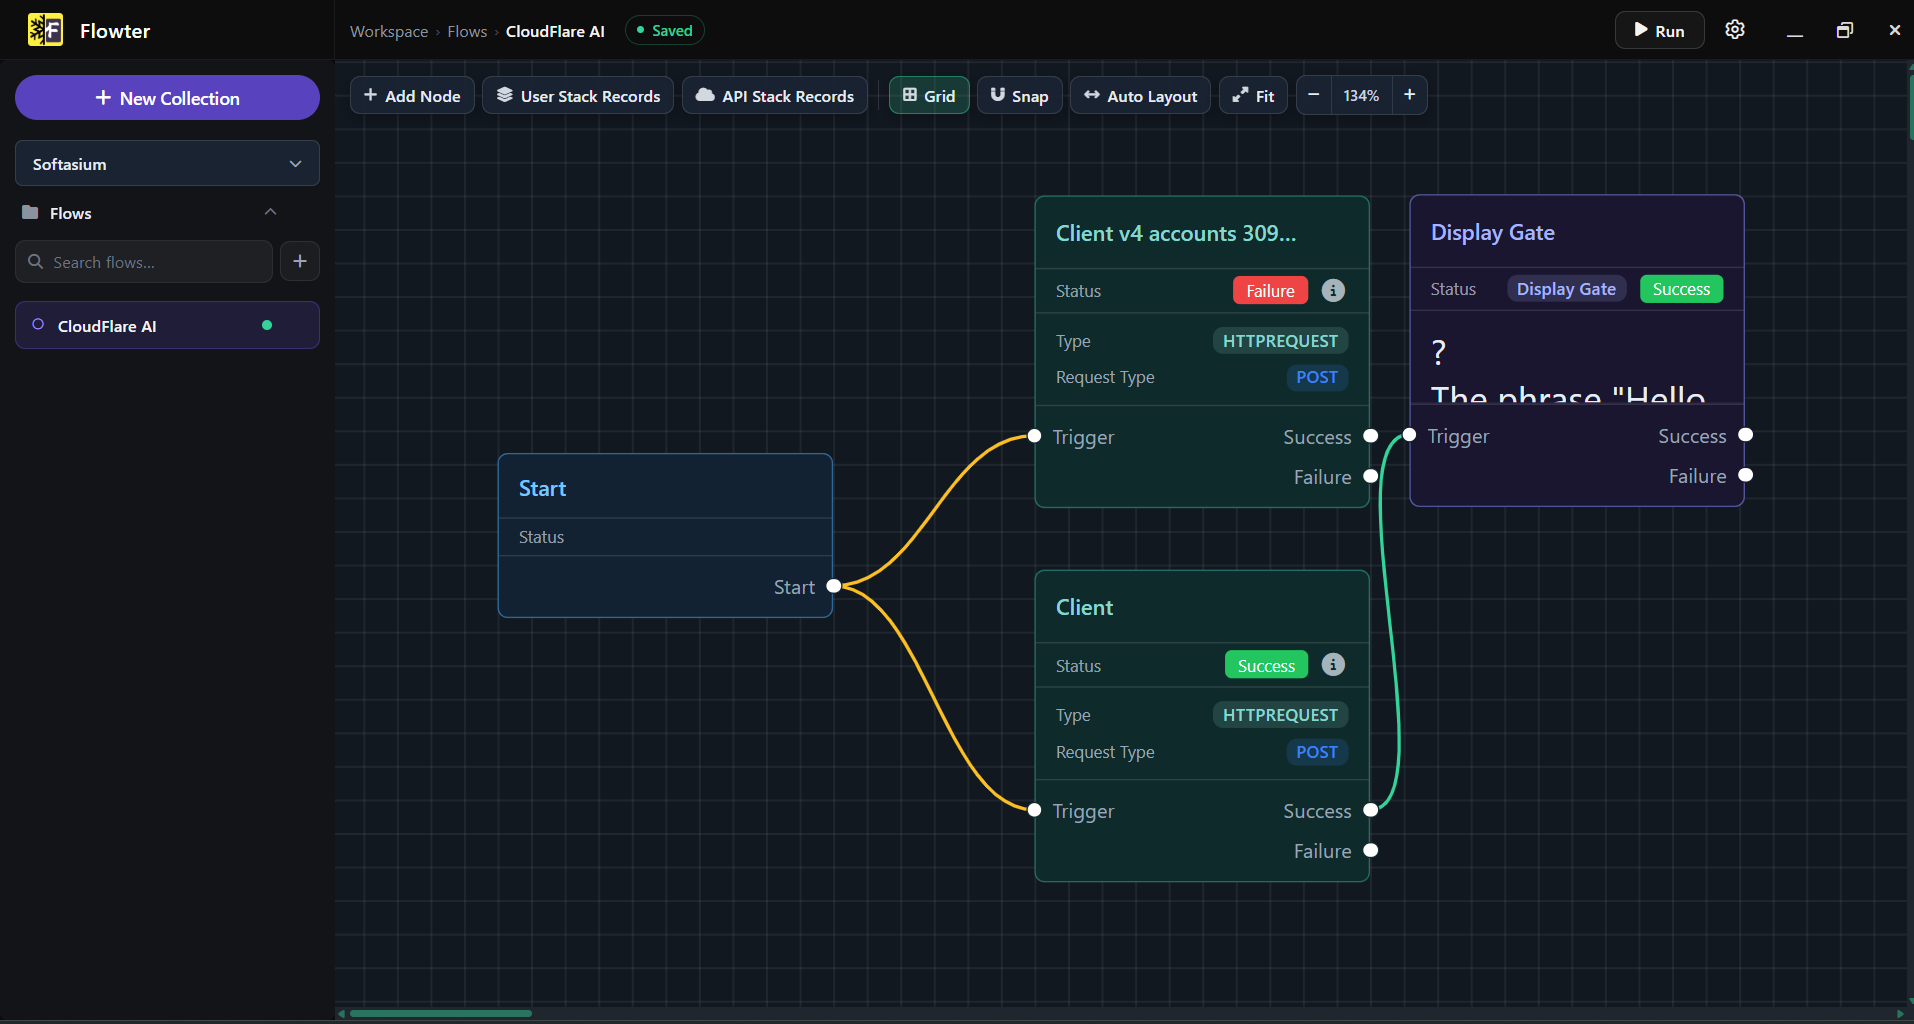
The window is a workspace. This flow is named CloudFlare AI, and the header shows Saved. The sidebar can start a new collection and lists the flows in the workspace. The toolbar has Add Node, User Stack Records, API Stack Records, Grid, Snap, Auto Layout, Fit, a zoom control, and Run.
The canvas starts at the Start node. That node fans out to two HTTP Request nodes, and one success path continues to a Display Gate. Every flow starts at that first node.
Configure an HTTP request
An HTTP Request node holds the URL, method, params, body, and headers. Paste a curl command into the URL field and Flowter fills those fields from it. On the CloudFlare AI canvas both requests are POST. This is the REST API testing step inside the chain: one call, then the next, instead of a single saved request.
Wire success and failure paths
Drag from an output port to an input port. After an HTTP call, the runner follows Success or Failure. On this canvas one HTTP node is Failure and the other is Success. The Success path reaches the Display Gate, which shows the text The phrase "Hello" and a Success badge.
Four nodes on the canvas
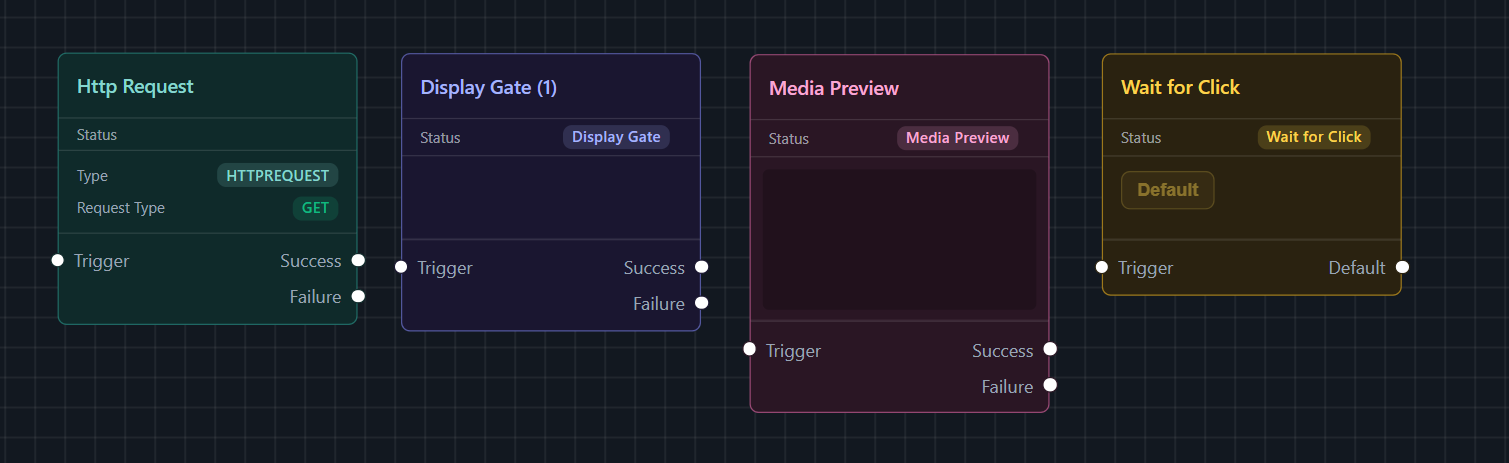
The HTTP Request card is type HTTPREQUEST. In this view the request type is GET. It has a Trigger input and Success and Failure outputs. After the call, the runner follows the matching path.
The Display Gate card is titled Display Gate (1) and its type is Display Gate. It has Trigger, Success, and Failure ports. On the CloudFlare AI canvas the same kind of node shows resolved text and a Success badge.
The Media Preview card is type Media Preview. It has a preview area on the card, plus Trigger, Success, and Failure ports. It is the node that previews media on the canvas.
Wait for Click is type Wait for Click. It has a Default chip, a Trigger input, and a Default output. It does not show Success and Failure ports. The flow waits for a click, then continues on Default.
The same flow in a light theme
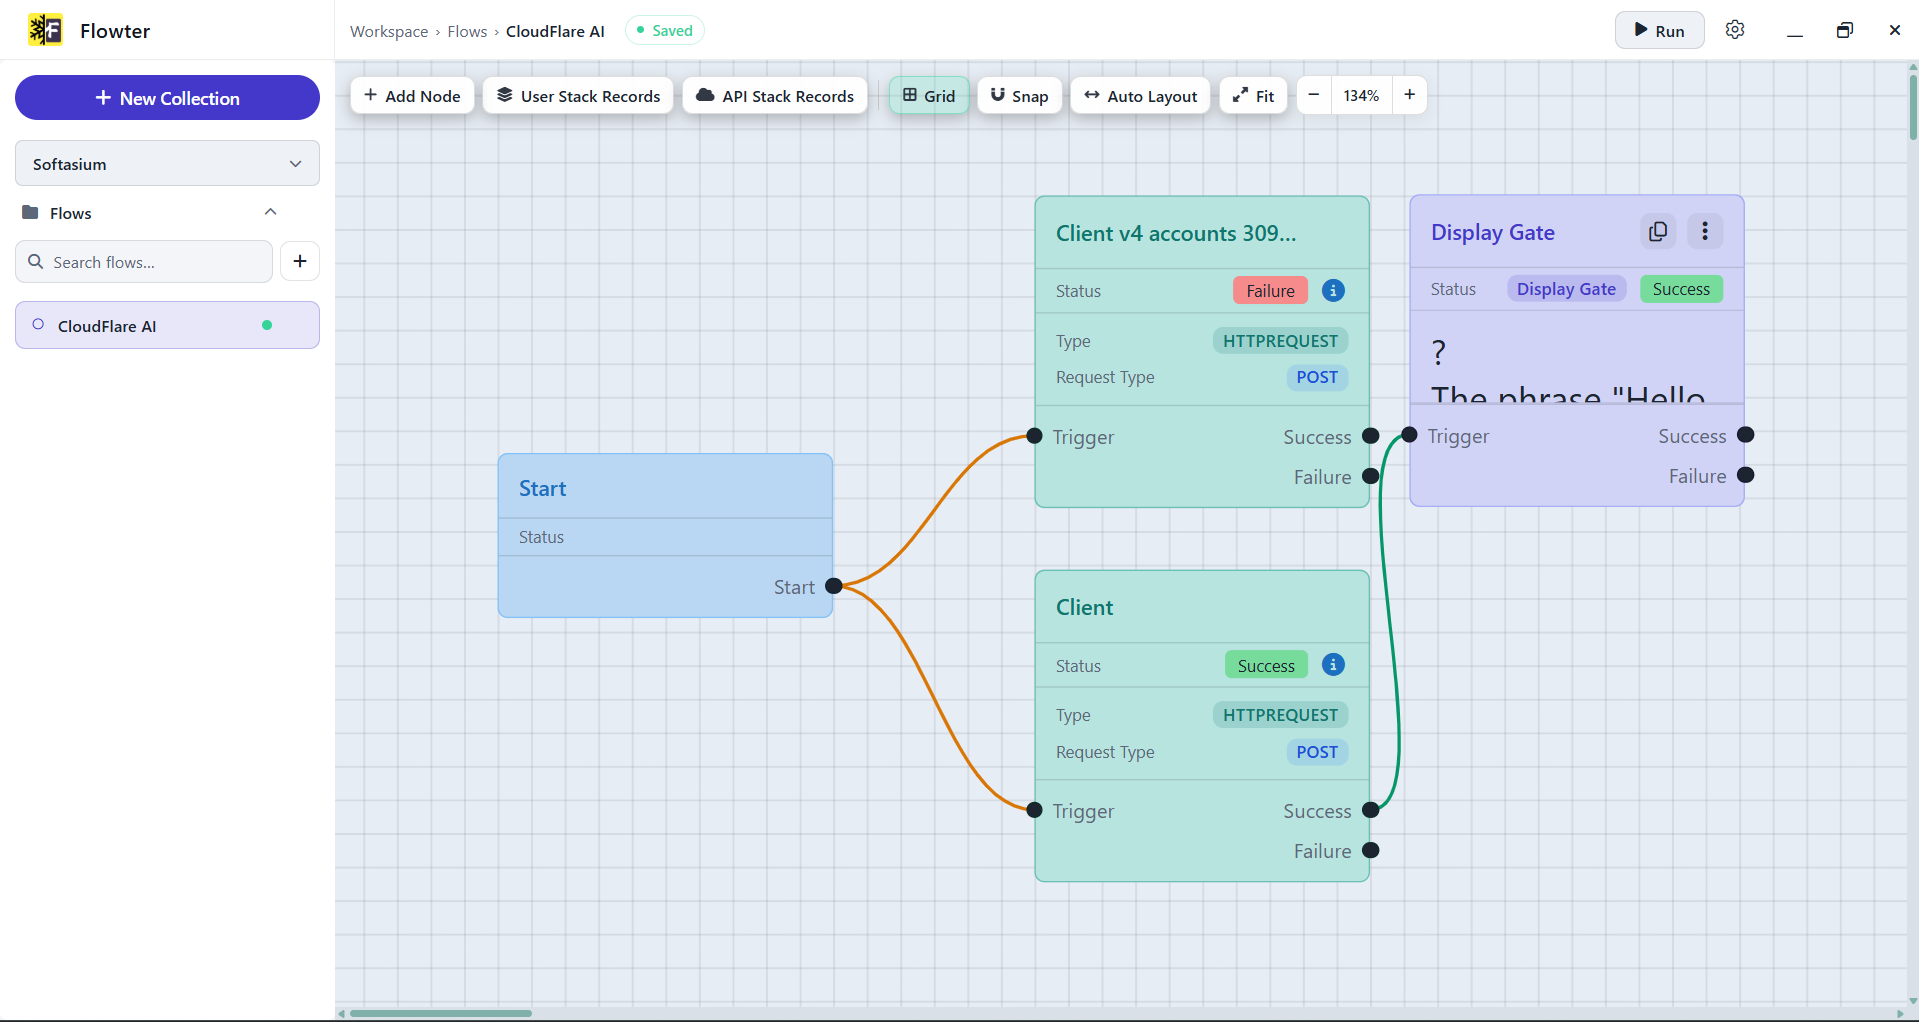
This is the same CloudFlare AI canvas with a light background. The Start node still branches to the two HTTP Request nodes, and the Display Gate still shows The phrase "Hello".
Run and inspect API requests
Run starts the chain from the Start node. Status badges on the cards show Success or Failure while the workflow runs. Open the timeline inspector on an executed step to see the method, URL, headers, body, status code, and duration.
Pass values in a local API workflow
The toolbar includes User Stack Records and API Stack Records. Stack Records are key/value pairs. Reference them as {{Key}} in URLs, params, headers, and body. HTTP JSON fields can be reused by later steps, prefixed by the node title, so a downstream request can use a value such as {{HealthCheck.version}}.
Workflows are saved under Documents/Flowter on the Windows machine. No cloud account is required.